 Build the curve cage of co-planar with the vertices snapped to each other respective end. * Expiriment outside of this exercise with different types of curves for more detail and shaping of panels 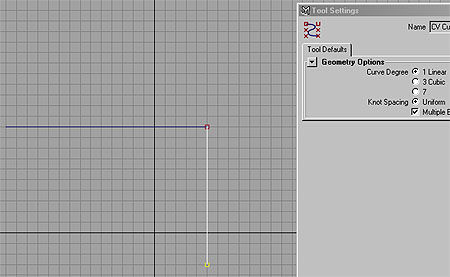 Build the shirt cage. Note the shirt was built symmetrically so mirroring was a fast process. 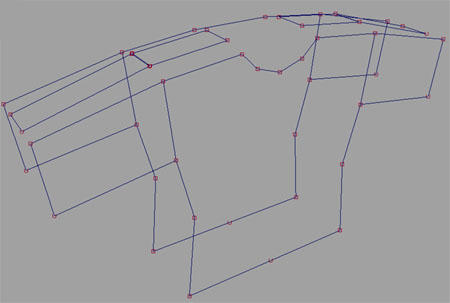 Build the collar portion. 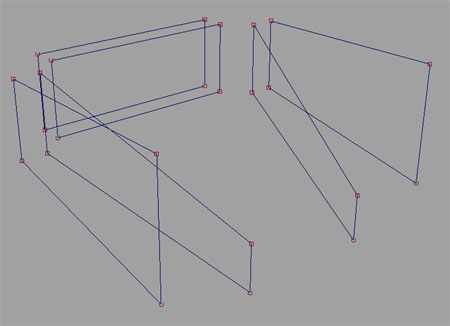 Here both are placed together in the scene. 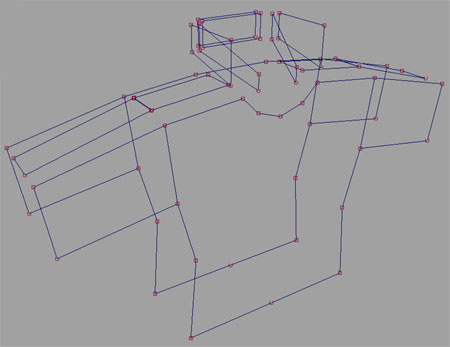 To create panels for the proceeding the garment, we select a nSided cage and select [Create Panel] When starting the seaming process, begin by choose a start panel and select [Create Garment]  Then Seam the panels to one another, creating a seamless mesh * Note: By switching the Surfaces Pick Mask to the off position, selection issues are alleviated. 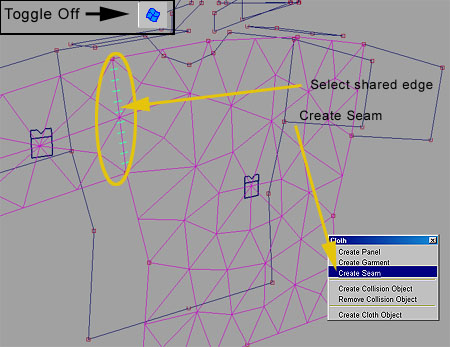 Complete the seaming of the collar first... Attach to the shirt neck regions. * Note: If you get twisted seams, backup and re-examine your seam work flow. 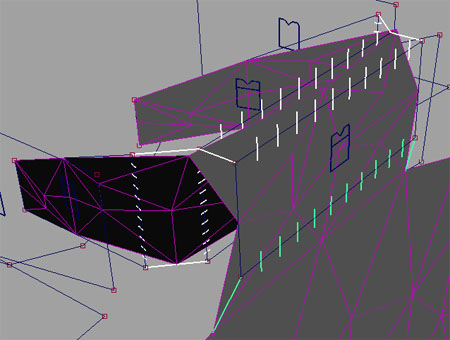 Here you can see a partial seaming. 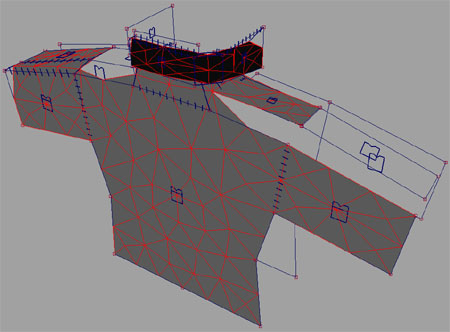 The completed garment.  To build the sleeve fringes, enable History and select the cloth edges and execute the crvOnPoly.mel script. Select degree 3 and a curve with history relations to the cloth edges is created. Built a profile spline, translate this to the initial curve point and Extrude with the settings shown. 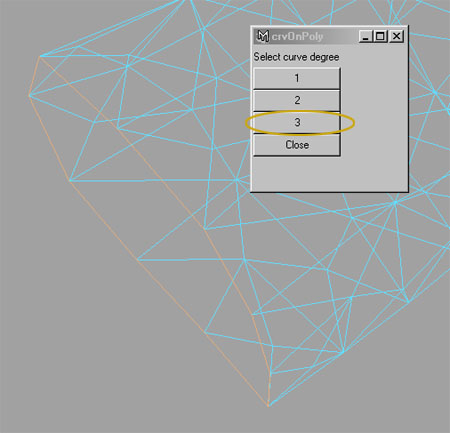 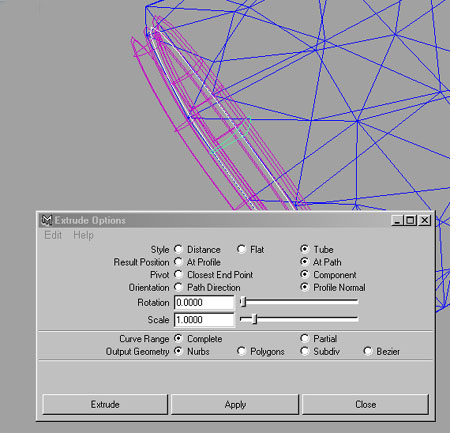 The completed garment with sleeve and edge fringes. 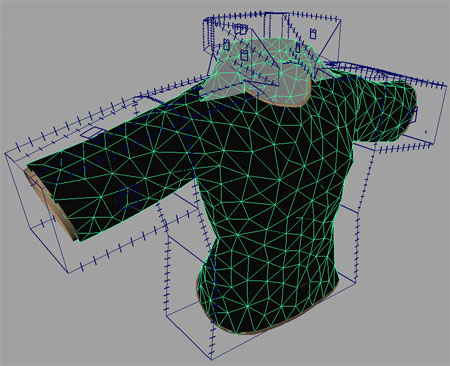 The final garment shielding "Jackie" from the elements... is motion tested for a look at the deformation 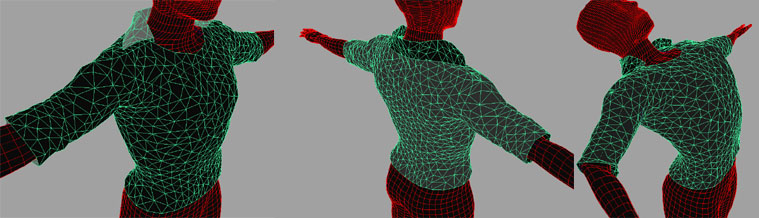 Lower resolution version with history driven fringes 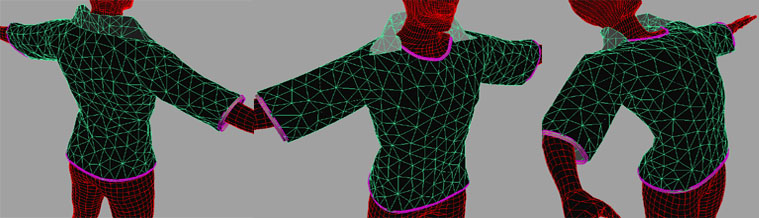 Rendering of Cloth garment with cloth shader in RGB|BMP channels. * Note: For Solver, Properties or other Cloth issues, refer to the Maya|Cloth Documentation. 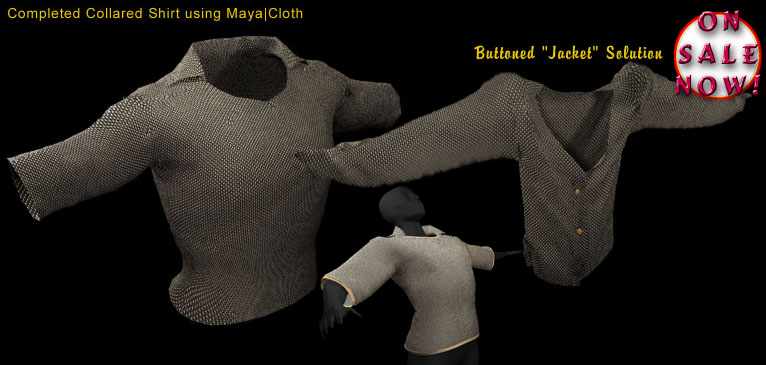
Scene File available at n8Dog.com
|
Sunday, January 20, 2013
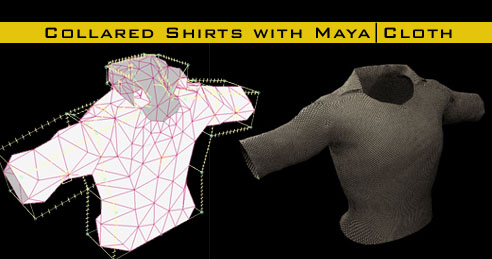
Maya Collared Cloth Shirts by Nathaniel Adam Briggs
** AUTHORED IN 1999-2000 **
Subscribe to:
Post Comments (Atom)
No comments:
Post a Comment